
- admin
How to Prep Walls Before Painting for a Smooth, Lasting Finish
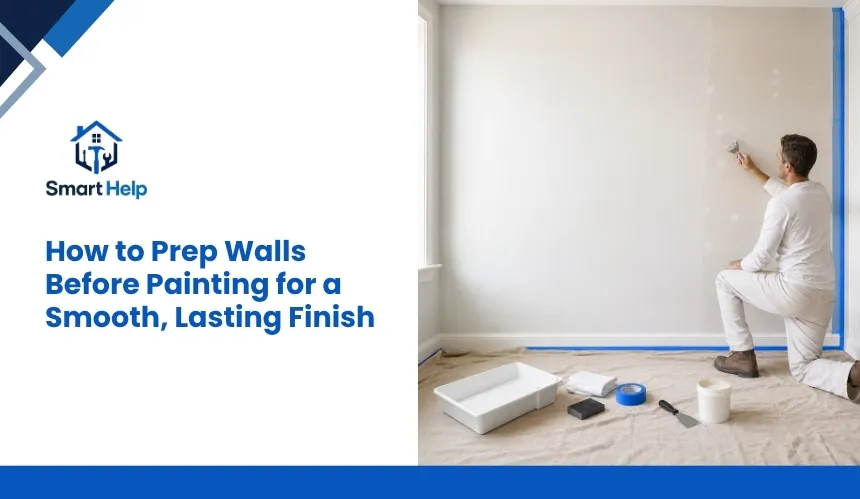
Painting often receives most of the attention during a room makeover, but the quality of the final finish usually depends on the preparation completed beforehand. Clean surfaces, repair damage, and use proper priming to help paint perform the way it was intended.
Many DIY painters skip preparation because they want to save time, reduce effort, or begin painting immediately. Unfortunately, shortcuts taken before painting can lead to uneven finishes, poor adhesion, visible imperfections, and additional expenses caused by repainting or corrective work later.
This guide explains how to prepare walls before painting step by step, why many DIYers overlook these tasks, and how skipping proper preparation can affect both appearance and long-term results.
Step 1: Remove Dust, Dirt, and Surface Contaminants
Cleaning the walls is the first step in preparing a surface for paint. Dust, grease, fingerprints, and other contaminants can prevent paint from bonding properly and may affect the appearance of the finished surface.
Although this step seems simple, many DIY painters move directly to painting without thoroughly cleaning the walls. Skipping this preparation may save time initially, but it can create problems that are much more difficult to correct later.
Why cleaning walls helps paint adhere properly
Paint bonds more effectively to clean surfaces than to areas covered with dust or residue. Removing contaminants creates a more stable surface and helps produce a smoother, more consistent finish.
Proper cleaning also reduces the chances of peeling, bubbling, or uneven coverage after the paint dries. A clean wall provides a stronger foundation for the entire painting project.
Problems caused by painting over dirty surfaces
When walls are not cleaned, dust and oils can interfere with paint adhesion and leave visible imperfections behind. In some cases, stains or contaminants may even show through the finished coat.
Many DIYers skip this step because the wall appears clean at first glance. However, correcting peeling paint, poor coverage, or finish defects later can require additional materials, extra labor, and sometimes a complete repaint.
Step 2: Repair Holes, Cracks, and Surface Damage
Before painting begins, wall imperfections should be repaired to create a smooth and uniform surface. Small defects that seem minor before painting often become much more noticeable once fresh paint is applied.
Because repair work takes additional time, many DIY painters choose to ignore small holes or hairline cracks. Unfortunately, skipping these repairs can affect the appearance of the finished room and increase the likelihood of future touch-ups.
How imperfections affect the final finish
Paint does not hide dents, nail holes, cracks, or damaged drywall. In many cases, a fresh coat of paint actually makes these imperfections stand out more because the new finish reflects light differently.
Repairing damaged areas before painting helps create a smoother appearance and allows the final color to look more even across the wall.
Why many DIY painters overlook small repairs
Many homeowners assume that paint alone will cover minor surface defects. Others skip repairs because patching and sanding require extra time before the painting process can begin.
The cost of skipping this step often appears after the project is complete. Visible flaws may lead to additional patching, repainting, or corrective work that could have been avoided through proper preparation.
Step 3: Sand Rough Areas and Create a Smooth Surface
Sanding helps create an even surface that allows paint to look smoother and perform better. Rough patches, old paint ridges, repaired areas, and minor texture differences can become more visible after painting if they are not properly blended beforehand.
Because sanding adds time and creates additional cleanup, many DIY painters skip this step. However, the time saved before painting can often lead to disappointing results after the paint dries.
Why sanding improves paint performance
Sanding smooths repaired areas and helps new paint bond more consistently across the surface. It also removes minor imperfections that could interfere with the final appearance.
Creating a uniform surface allows the finish to reflect light more evenly. This helps produce a cleaner and more professional-looking result.
What happens when sanding is skipped
Without sanding, patched areas, paint edges, and rough spots may remain visible even after multiple coats of paint are applied. Uneven surfaces can also affect how the paint dries and how light reflects across the wall.
Many DIYers skip sanding because the wall appears smooth enough before painting. However, correcting visible imperfections afterward may require additional sanding, extra paint, and sometimes repainting entire sections of the room.
Step 4: Protect Trim, Floors, and Adjacent Surfaces
Preparing the room is just as important as preparing the walls. Before painting begins, nearby surfaces should be protected to prevent accidental splattering, drips, and damage during the project.
Because masking and covering surfaces require additional setup time, many DIY painters rush through this step or skip it completely. The result is often extra cleanup and avoidable repairs after the painting is finished.
How preparation prevents accidental paint damage
Using drop cloths, painter’s tape, and protective coverings helps shield floors, baseboards, trim, windows, and furniture from unwanted paint. These simple precautions make the painting process cleaner and easier to manage.
Proper preparation also allows painters to focus on the walls without worrying about damaging surrounding surfaces. This contributes to a more controlled and professional-looking finish.
Why rushing this step creates extra cleanup
Paint splattering on flooring, trim, or fixtures can be difficult to remove once they dry. Correcting these mistakes often requires additional cleaning supplies, touch-up work, or replacement of damaged materials.
Many DIYers skip this step because they are eager to start painting. However, the time saved at the beginning of the project can quickly be lost through cleanup and repair work later.
Step 5: Apply Primer When the Surface Requires It
Primer helps create a uniform base that allows paint to adhere properly and produce consistent coverage. While not every wall requires primer, certain surfaces benefit significantly from this additional step.
Because primer adds extra cost and extends the project timeline, many DIY painters choose to skip it. However, doing so can lead to uneven color, poor coverage, and additional coats of paint.
How primer improves coverage and durability
Primer helps seal repaired areas, cover stains, and create a more consistent surface for the finish coat. It also improves paint adhesion and can contribute to better long-term durability.
Using primer when necessary often allows the topcoat to perform more effectively. This helps create a more uniform appearance throughout the room.
Why skipping primer often leads to uneven results
Fresh drywall repairs, stained surfaces, and dramatic color changes may show through if primer is omitted. Some areas can absorb paint differently, causing visible variations after the paint dries.
Many DIYers skip primer to save money or shorten the project. However, uneven coverage may require additional coats of paint or complete repainting, ultimately increasing both time and material costs.
Frequently Asked Questions
Do walls always need to be cleaned before painting?
Yes, cleaning helps remove dust, grease, and residue that can interfere with paint adhesion. Even walls that appear clean may contain contaminants that affect the final finish.
Can paint hide nail holes and small cracks?
No, paint usually makes imperfections more noticeable rather than hiding them. Repairs should be completed before painting to create a smoother surface.
Is sanding necessary if the wall already looks smooth?
Sanding helps blend repairs and remove minor imperfections that may become visible after painting. Skipping this step can lead to uneven finishes and noticeable surface defects.
Do all painting projects require primer?
Not always. However, primer is often recommended for repaired drywall, stained surfaces, or major color changes to improve coverage and adhesion.
Why do many DIY painters skip wall preparation?
Many homeowners skip preparation to save time or reduce upfront costs. Unfortunately, these shortcuts can lead to repainting, extra materials, and additional labor later.